Are you looking to add a touch of elegance and functionality to your home by laying tile on a concrete floor? Tiling can be a rewarding DIY project that can transform the look and feel of a space. If you’re a beginner, don’t worry! With the right tools, materials, and a little patience, you can achieve professional-looking results. In this guide, we’ll walk you through the step-by-step process of laying tile on a concrete floor.
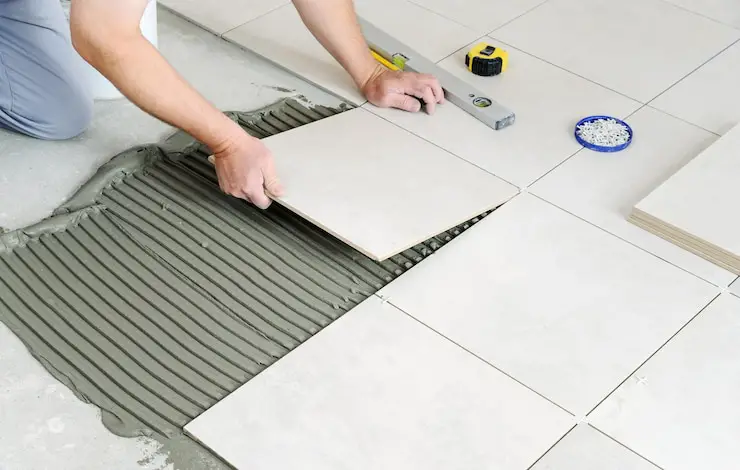
Steps To Follow
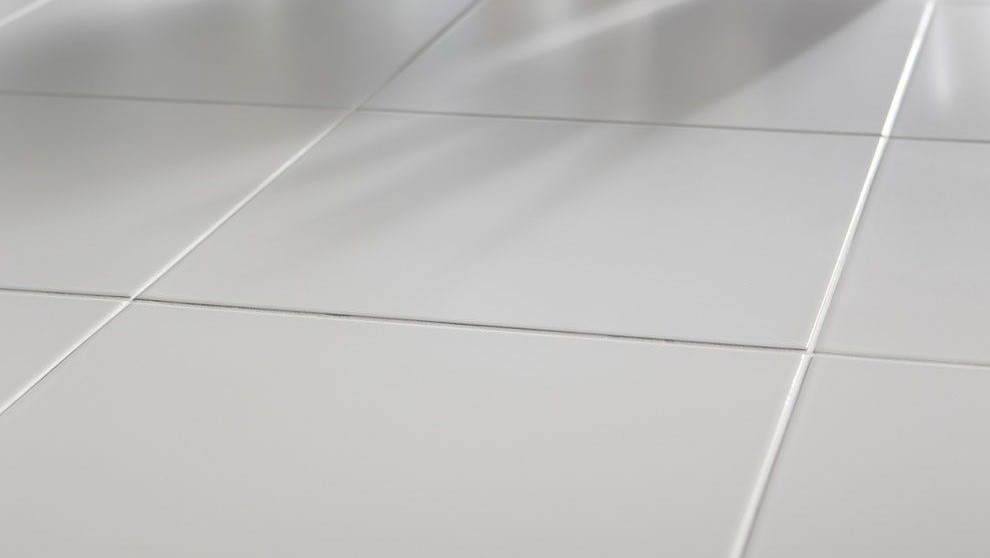
Total Time Required:
The total time required to lay tile on a concrete floor can vary depending on factors such as the size of the room, the complexity of the tile pattern, and your level of experience. However, as a rough estimate, you should budget approximately 2-3 days for a standard-sized room. This includes time for prep work, laying the tiles, allowing for curing time, and grouting.
Tools That Are Needed To Lay Tile on A Concrete Floor:

1. Measuring tape: Required for necessary measurement.
2. Level: This is to see the level of the bedding materials and tiles.
3. Chalk line or laser level: To fix the level for laying the tiles.
4. Notched trowel: For creating grooves on the cement mortar.
5. Tile cutter or wet saw: This tool is used for cutting the tiles to the desired shape and size.
6. Margin trowel: For applying the cement mortar and cement slurry over the sub-floor surface.
7. Grout float: This is to level the mortar (cement mortar or lime mortar).
8. Sponge or cloth for cleanup: To clean the tiles from dropping mortar, cement plaster, oil, and other sticky materials.
9. Buckets: To carry the cement mortar and for preparation of cement slurry
10. Rubber mallet: It is used to tap the tile tightly on the bed by hitting gently.
11. Tile spacers: This is used to create equal space between the adjacent tile.
12. Safety goggles and gloves: For personal safety only.
13. Utility knife: To cut the packaging tap of the tiles.
14. Wire brush: To brush out the surface of bedding mortar or cement mortar in order to make it rough. This tool is optional if the Notched trowel is there it is not needed.
Materials That are Needed To Lay Tile on A Concrete Floor:
1. Tiles of your choice
2. Tile adhesive or thin-set mortar
3. Grout
4. Grout sealer (optional)
5. Cement backer board (if needed)
6. Cement board screws (if needed)
7. Primer (if needed)
8. Water-resistant membrane (if needed)
9. Concrete patching compound (if needed)
10. Clean water for mixing mortar and cleaning
11. Oxalic acid: This is used to polish the tiles (if needed).
Step 1: Prepare the Concrete Floor for Laying Tile
Before laying tile on a concrete floor, it’s crucial to prepare the surface properly. Here’s what you need to do:
1. Clean the concrete floor thoroughly, removing any dust, dirt, or debris. Sweep and vacuum the area to ensure it’s clean and dry.
2. If there are any cracks or holes in the concrete, patch them with a suitable concrete patching compound. Follow the manufacturer’s instructions for the best results.
3. If you’re tiling a basement or an area prone to moisture, consider applying a water-resistant membrane over the concrete floor to prevent water damage.
4. If you’re tiling over a wood subfloor, you’ll need to install a cement backer board on top of the subfloor for added stability. Follow the manufacturer’s instructions for installation, including using cement board screws to secure the backer board to the subfloor.
5. Once the surface is prepared, apply a primer or bonding agent to the concrete floor or backer board, if needed. Follow the manufacturer’s instructions for the appropriate drying time.
Step 2: Plan the Tile Layout
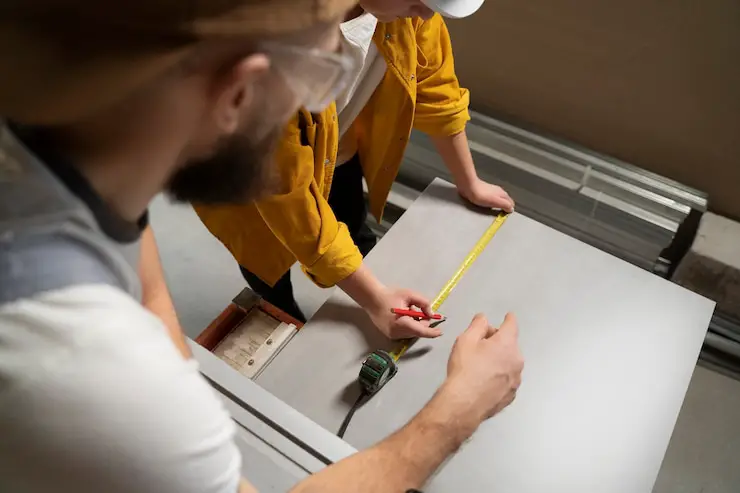
Planning the tile layout is a critical step in achieving a professional-looking result. Here’s how to do it:
1. Measure the length and width of the room and find the centre point. Mark the centre point on the floor using a chalk line or a laser level.
2. Lay out dry tiles starting from the centre point, using tile spacers to create even gaps between the tiles. Adjust the layout until you’re satisfied with the pattern and spacing.
3. Once you have the desired layout, use a pencil to mark the tile edges on the floor, creating guidelines for installation. This will help you stay on track when applying the adhesive.
Step 3: Apply Tile Adhesive or Thin-Set Mortar
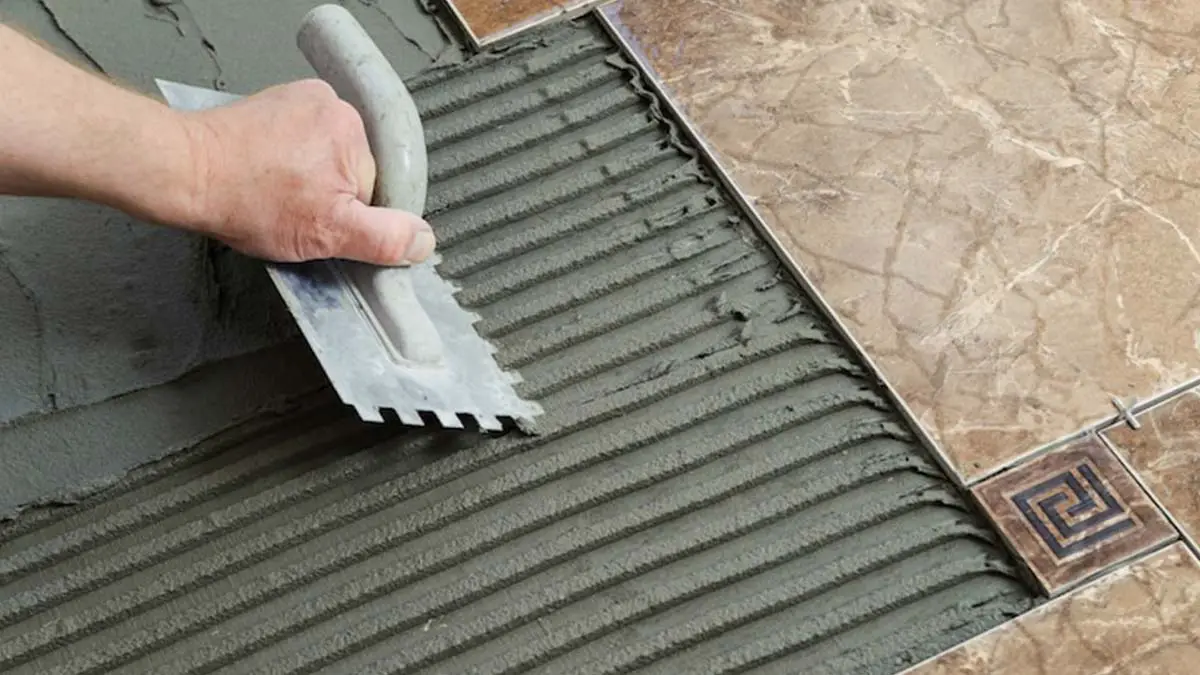
Now it’s time to apply the tile adhesive or thin-set mortar to the concrete floor. Follow these steps:
1. Mix the tile adhesive or thin-set mortar according to the manufacturer’s instructions. It’s important to use the right proportions of water and adhesive to achieve the proper consistency.
2. Using a notched trowel, spread the adhesive or mortar onto the concrete floor, starting from the centre and working towards the edges. Make sure to stay within the guidelines you marked earlier, and use the notched side of the trowel to create grooves in the adhesive for better tile adhesion.
3. Place the tiles onto the adhesive, pressing them firmly into place and wiggling them slightly to ensure good contact with the adhesive. Use tile spacers to create consistent gaps between the tiles.
4. Continue laying tiles in the desired pattern, working in small sections at a time. Use a rubber mallet to gently tap the tiles into place, ensuring they are level and even.
5. If you need to cut tiles to fit around edges or corners, use a tile cutter or wet saw following the manufacturer’s instructions. Measure and mark the tiles carefully before cutting to ensure accurate cuts.
6. Allow the adhesive or mortar to dry according to the manufacturer’s instructions. This typically takes 24-48 hours, but drying times may vary depending on the type of adhesive or mortar used.
Step 4: Apply Grout
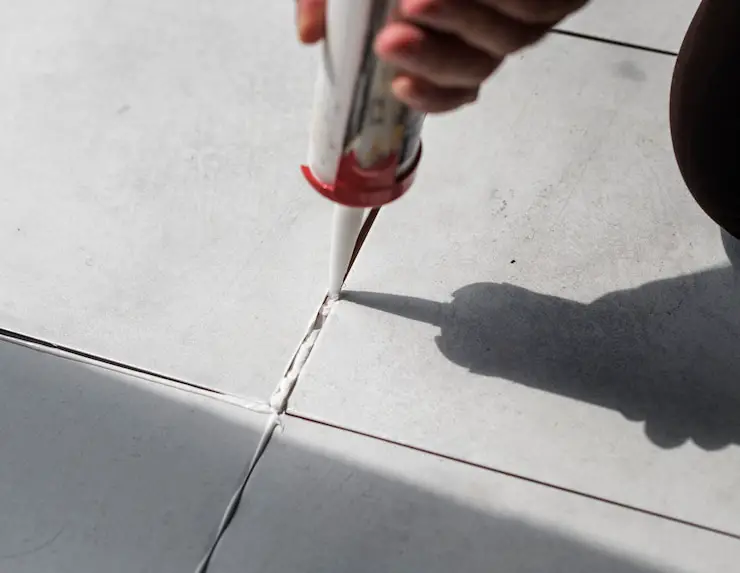
Once the adhesive or mortar has dried, it’s time to apply the grout to fill the gaps between the tiles. Here’s how to do it:
1. Remove the tile spacers and clean the surface of the tiles to remove any debris or adhesive residue.
2. Mix the grout according to the manufacturer’s instructions, making sure to use the right proportions of water and grout powder.
3. Using a grout float, apply the grout onto the tiles, spreading it diagonally across the tile joints to ensure full coverage.
4. Use the edge of the grout float to scrape off excess grout from the surface of the tiles, working at a 45-degree angle. Be careful not to remove too much grout from the joints.
5. Allow the grout to set for about 10-15 minutes, or as per the manufacturer’s instructions, and then use a damp sponge or cloth to wipe off the excess grout from the surface of the tiles. Rinse the sponge or cloth frequently to keep it clean.
6. After wiping off the excess grout, allow the grout to dry for 24-48 hours, or as per the manufacturer’s instructions.
Step 5: Seal The Grout (Optional)
Sealing the grout is an optional step, but it can help protect the grout from stains and make it easier to clean. Here’s how to do it:
1. Once the grout is fully dry, apply a grout sealer according to the manufacturer’s instructions. Use a small brush or applicator to apply the sealer evenly onto the grout lines.
2. Allow the sealer to dry for the recommended time, and then wipe off any excess sealer from the surface of the tiles using a clean cloth.
3. Let the sealer cure for the recommended time before allowing foot traffic or heavy use on the tiled floor.
Also, read: What Is Cement Concrete? | Why Should You Know About It?
Congratulation! You’ve successfully laid tile on a concrete floor. With the right tools, materials, and patience, you can achieve a beautiful and durable tile installation that will enhance the look and functionality of your space.
In conclusion, laying tile on a concrete floor may seem intimidating for beginners, but with careful preparation, planning, and execution, it can be a satisfying DIY project. Remember to follow the manufacturer’s instructions for all the tools and materials used, and take your time to ensure accuracy and quality in your work. Happy tiling!
Also, read: How to Lay Brick Flooring on Concrete Base
FAQs:
Q: How long does it take to lay tiles on a concrete floor?
A: The time it takes to lay tiles on a concrete floor depends on factors such as the size of the area, the complexity of the tile pattern, and the drying time of the adhesive or mortar. Generally, it can take a few days to complete the process, including drying times.
Q: How do I ensure that my tiles are level and evenly spaced?
A: Using a tile levelling system and tile spacers can help ensure that your tiles are level and evenly spaced, resulting in a professional-looking tile installation.
Q: Do I need to seal the grout after applying it?
A: Sealing the grout is optional but recommended, as it can protect the grout from stains and make it easier to clean. Follow the manufacturer’s instructions for the grout sealer application and curing time.
Q: How do I clean the excess grout from the tiles?
A: After applying grout, wait for it to set for about 10-15 minutes, and then use a damp sponge or cloth to wipe off the excess grout from the surface of the tiles. Rinse the sponge or cloth frequently to keep it clean.
Q: Is it necessary to prepare the concrete floor before laying the tiles?
A: Yes, proper preparation of the concrete floor is essential for a successful tile installation. This may involve cleaning the floor, applying a backer board or primer, and ensuring the floor is level and free of debris.
Q: How do I maintain the tiled floor after installation?
A: Regular cleaning with a mild detergent and water, avoiding harsh chemicals, and promptly addressing any spills or stains can help maintain the appearance and longevity of the tiled floor. Additionally, resealing the grout periodically, if applicable, can also be part of the maintenance routine.
Q: What are some common mistakes to avoid when laying tiles on a concrete floor as a beginner?
A: Some common mistakes to avoid include not properly preparing the concrete floor, not using the correct amount of adhesive or mortar, not using tile spacers for even spacing, not checking for levelness and straightness during installation, not allowing proper drying time, and not properly cleaning excess grout from the tiles.
Q: Can I walk on the newly installed tiles immediately after installation?
A: It is generally recommended to avoid walking on the newly installed tiles for at least 24 hours to allow the adhesive or mortar to fully cure. Follow the manufacturer’s instructions for drying and curing time before subjecting the tiles to foot traffic or other loads.
Also, read: Construction of Terrazzo Flooring | Materials | Specification | Method
![]()


